
Instructions for Poppy Holder
| Thank you for buying this product. Here's some data on that part. It was printed on one FDM 3D printer with the material PETG. The pressure duration was approx. 4 Hours. It became a 5 Volt LED installed in the base and this connected to a USB C socket. Everything was created by hand by me as a hobby. Since layer after layer is printed on top of each other, each product is unique. Smaller grooves or tolerances cannot be avoided. Since I am a truck driver myself and was not satisfied with the offers, I first designed this holder for myself. Almost every one of my colleagues wanted one and that’s why I decided to make it for others as well. I hope you're happy with that. If you have criticism or suggestions for improvement, I am happy to be open to it. Contact Best you can reach me via the Internet via email. | 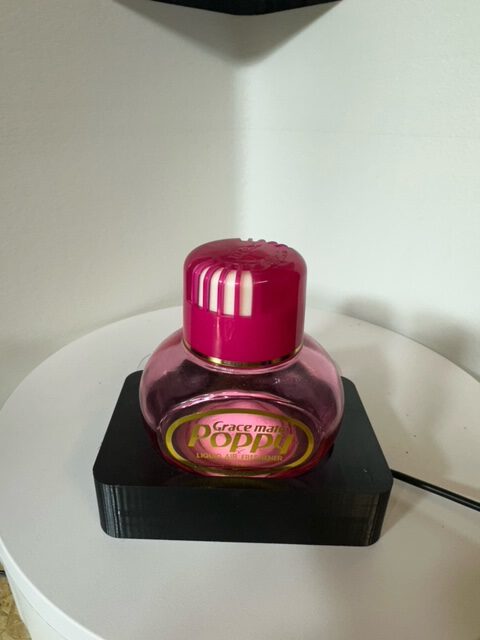 |
ANNEXES
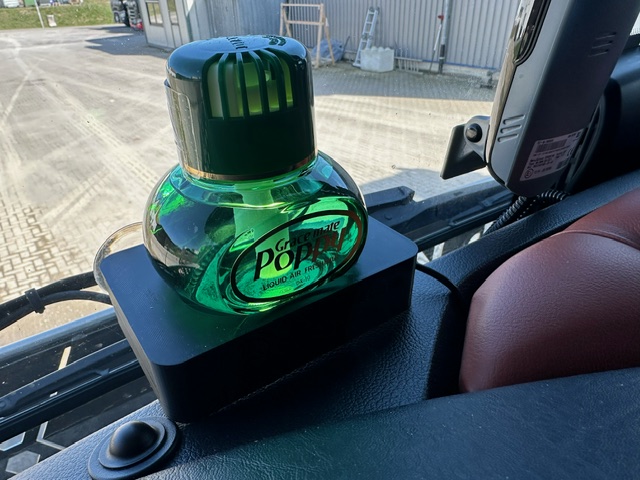
I have given you 3 Suction cups, a screw and an angle. The holder should be mounted in such a way that it adheres to the pane with the suction cups. Due to the weight of the poppy, it may be that the holder points downwards. It would be best if you attach the holder so that it rests with the lower surface and is therefore stable.
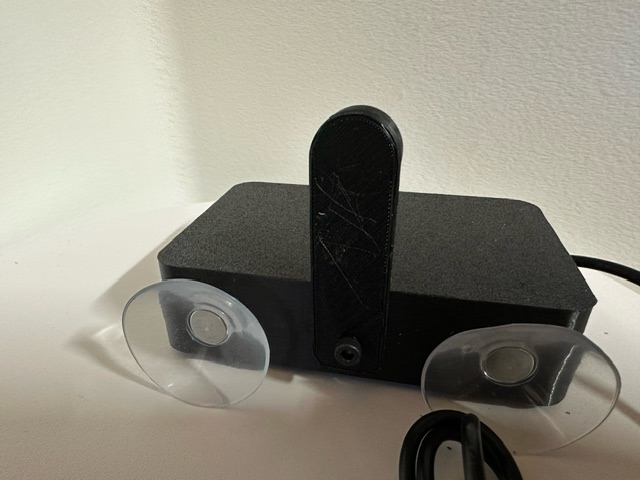
If this is not possible, or you wish otherwise, simply remove the middle suction cup and apply the angle by means of the screw. Depending on the curvature of the disc, you need to attach the lower round part to the front or behind.
Just plug in a cable with a USB-C plug and everything should work.
Parts installed:
- PETG Filament as body
- ABS INLAY for temperature protection
- ABS Disc
- 5 V LED
- USB C socket
- 3x suction nap
- 3x metal nuts
Scope of delivery:
- Poppy holder with USB-C socket
- 1 Screw M4
- 1 Support foot
Versions
1.0
Poppy holder with LED and USB cable with USB A connection. Manufactured from PLA Plastics.
1.2
Labeling outsourced in TAGS so you can print better quality
1.2.2
Material change on PETG there is PLA can be deformed by heating.
1.3
Switching to USB C socket and elimination of the permanently soldered USB A cable.
1.4
LED recording changed and an inlay built in to be able to intercept the heat transfer.
1.4.1
Inlay material changed from PETG on ABS to be heat resistant. White disc also on ABS modified.
1.5.0
The holder was raised at the front and rear with a bridge to better stabilize the seat of the bottles.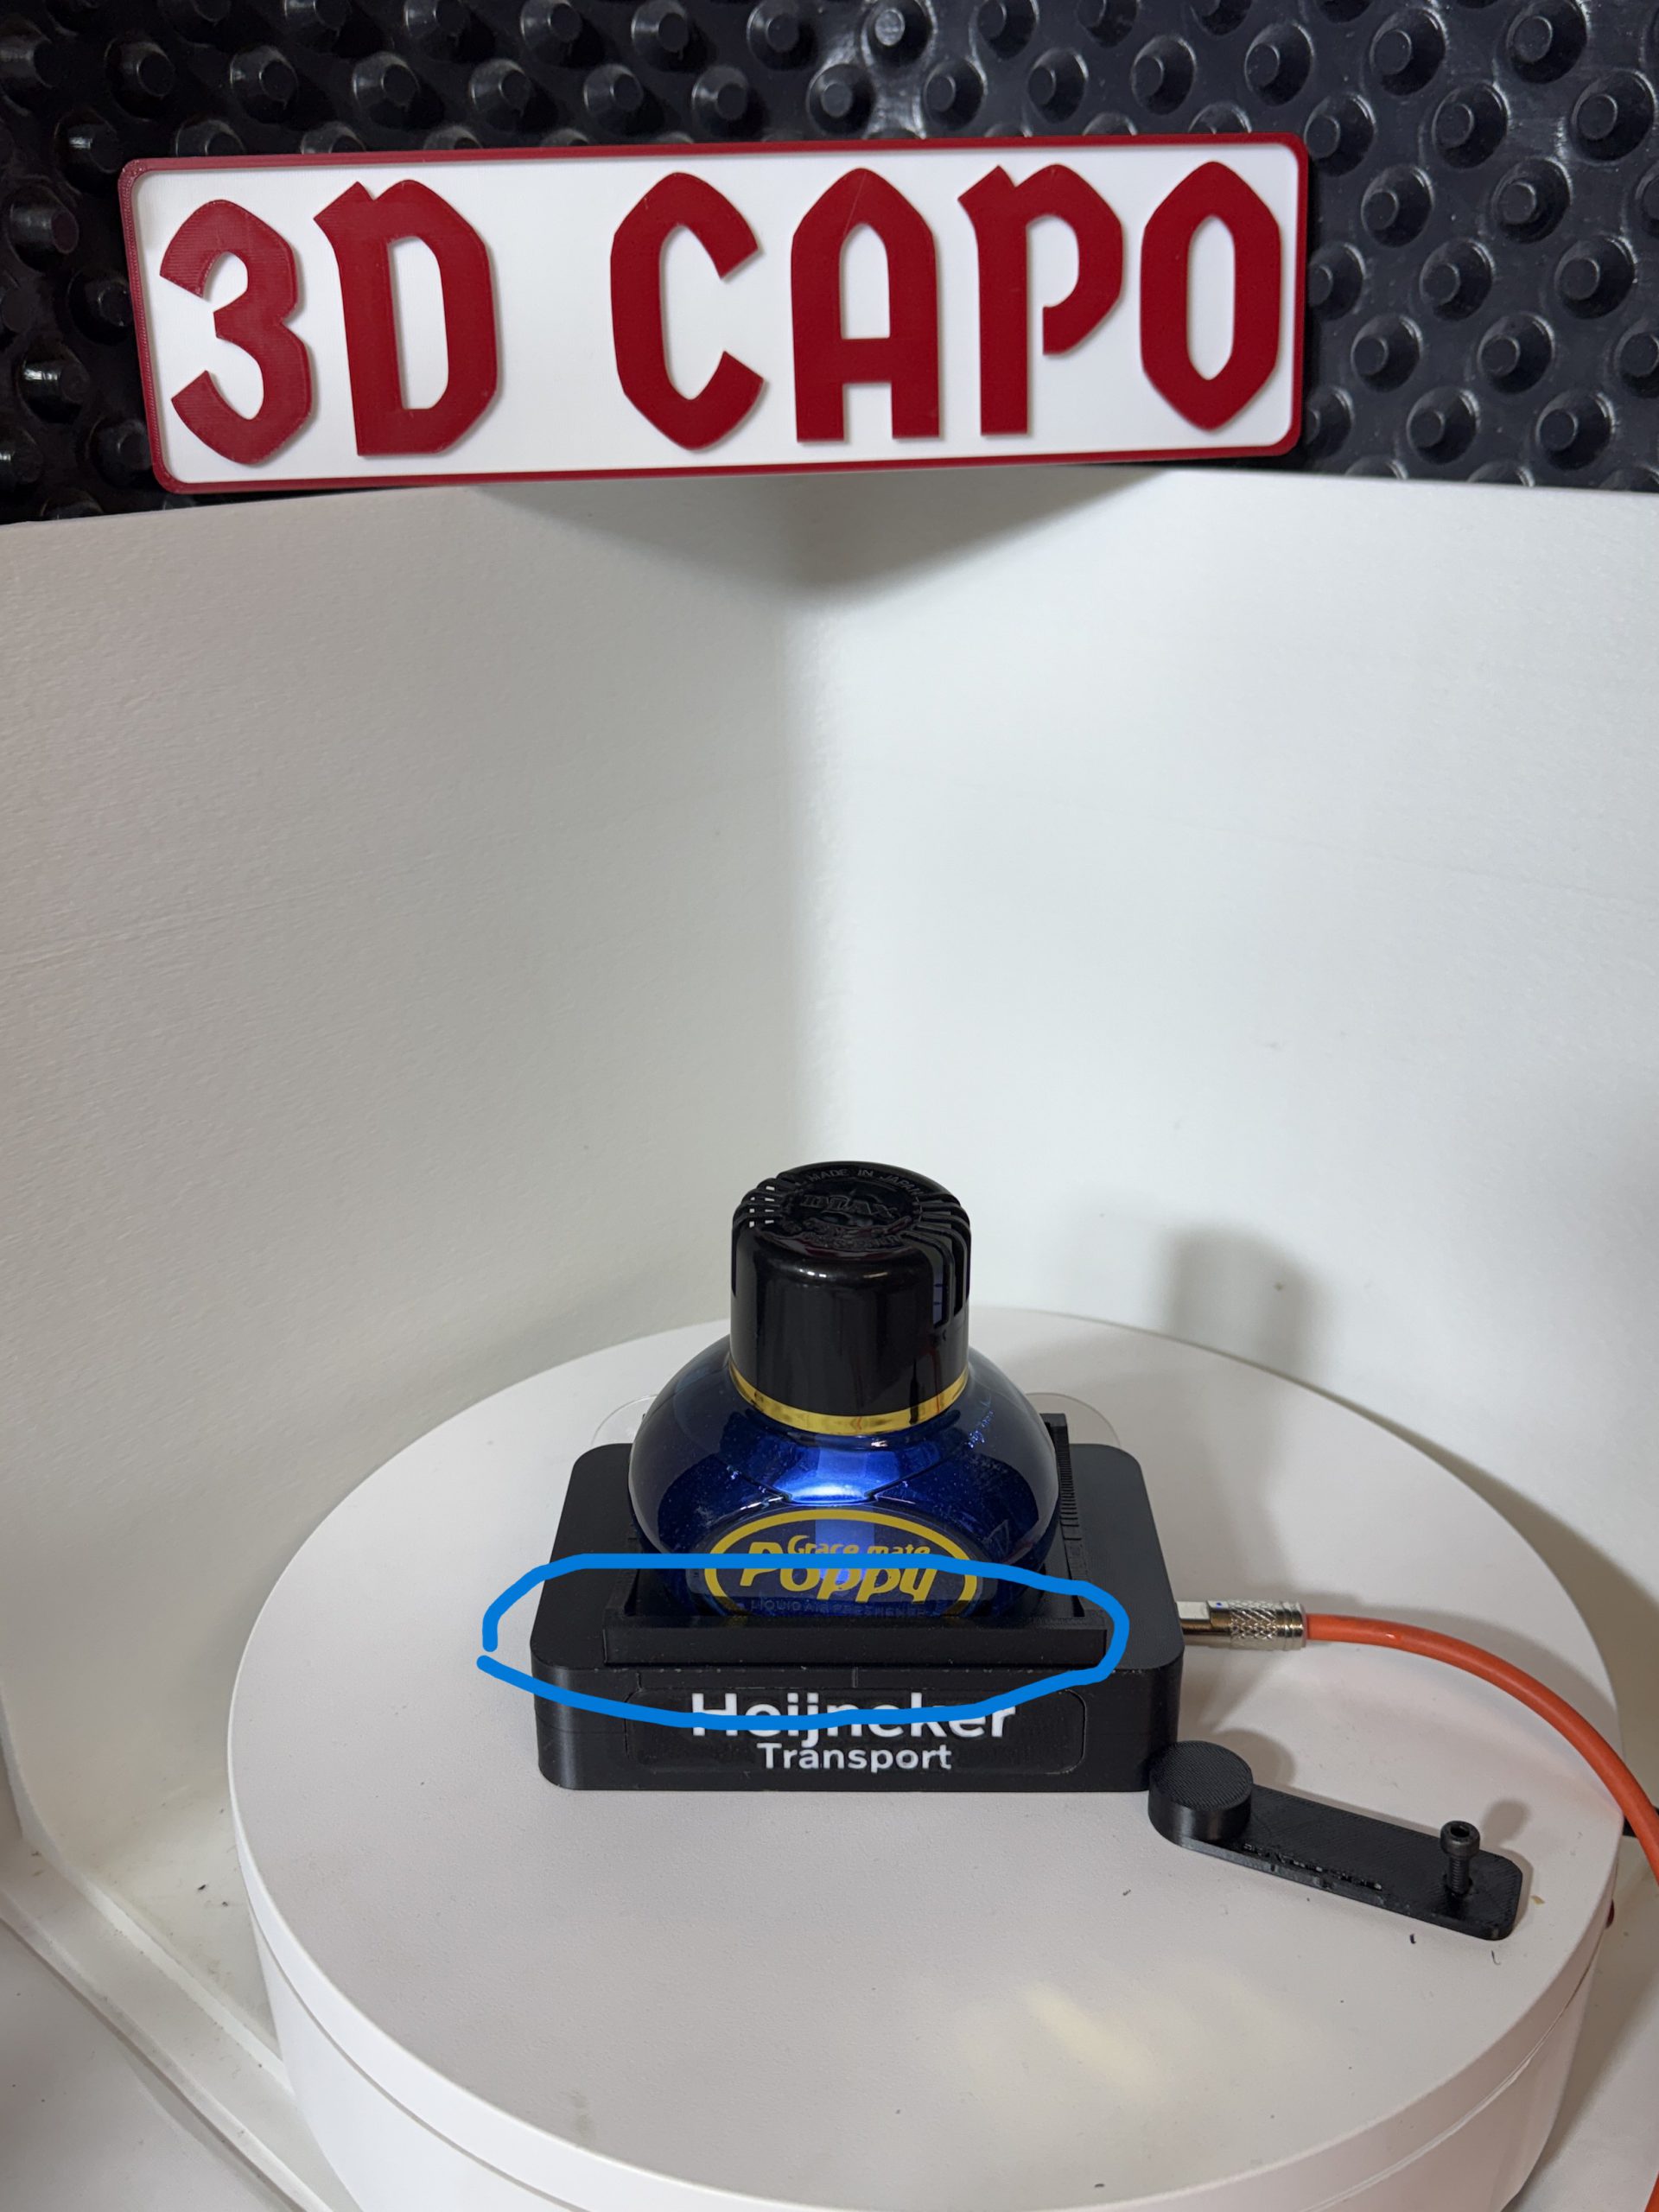
The following section only applies if you have purchased a holder with multi-color LED.
Mulicolour version with remote control
For the operation you still need 1 Battery CR2032 for remote control.
If you have bought several holders, usually one remote control works for all. Sometimes you also need one per holder. It is definitely per holder 1 Remote control included.
Scope of delivery:
- 1 Poppy holder with USB C port
- 3x suction cup
- 1 Support foot
- 1x M4 screw
- 1x remote control
Finally
I run the whole hobby and have fun with it. If you have one or the other idea, what else you can build for the truck, you can contact me. If possible, I will implement it. If you bought from Etsy or Ebay, I would be happy about a review. That helps me. On my website 3dcapo.de find more projects from me. Have fun and always have a good ride. You might see each other on the street.